
In this tutorial, we'll build a Next.js application and authenticate it with Strapi 5 and NextAuth. The goal is to demonstrate Next.js authentication with NextAuth and Strapi headless CMS.
Strapi CMS is the leading open-source headless CMS. It is 100% JavaScript, fully customizable, and developer-first. Its excellent developer experience has helped me build prototypes and products more efficiently.
Next.js is a React framework for building server-side rendered applications. It offers numerous features, a superior developer experience, and native TypeScript support.
NextAuth is an authentication library designed for Next.js authentication. It is straightforward, rapid, and secure.
The tutorial's code is available on GitHub.
Prerequisites
Creating a New Next.js Application
To create a new Next.js application, use the following command in your working directory:
yarn create next-appConfigure your Next app as follows:
✔ What is your project named? … frontend
✔ Would you like to use TypeScript? … No
✔ Would you like to use ESLint? … No
✔ Would you like to use Tailwind CSS? … Yes
✔ Would you like your code inside a `src/` directory? … No
✔ Would you like to use App Router? (recommended) … No
✔ Would you like to use Turbopack for `next dev`? … Yes
✔ Would you like to customize the import alias (`@/*` by default)? … No
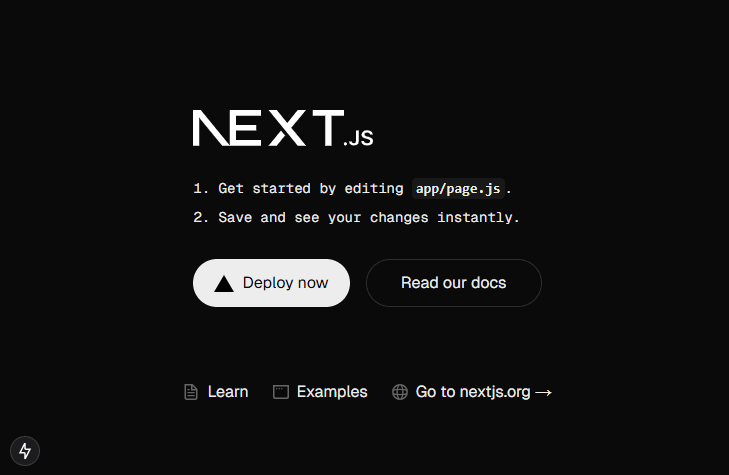
After setup, run:
cd frontend && yarn devThis starts the application at localhost:3000.
Creating a New Strapi Application
Open up your working directory in a new terminal session and create a new Strapi project named backend.
npx create-strapi-app@latest backend --quickstartAfter setup, open the administration panel at localhost:1337/admin.
Create an administrator using the registration form.
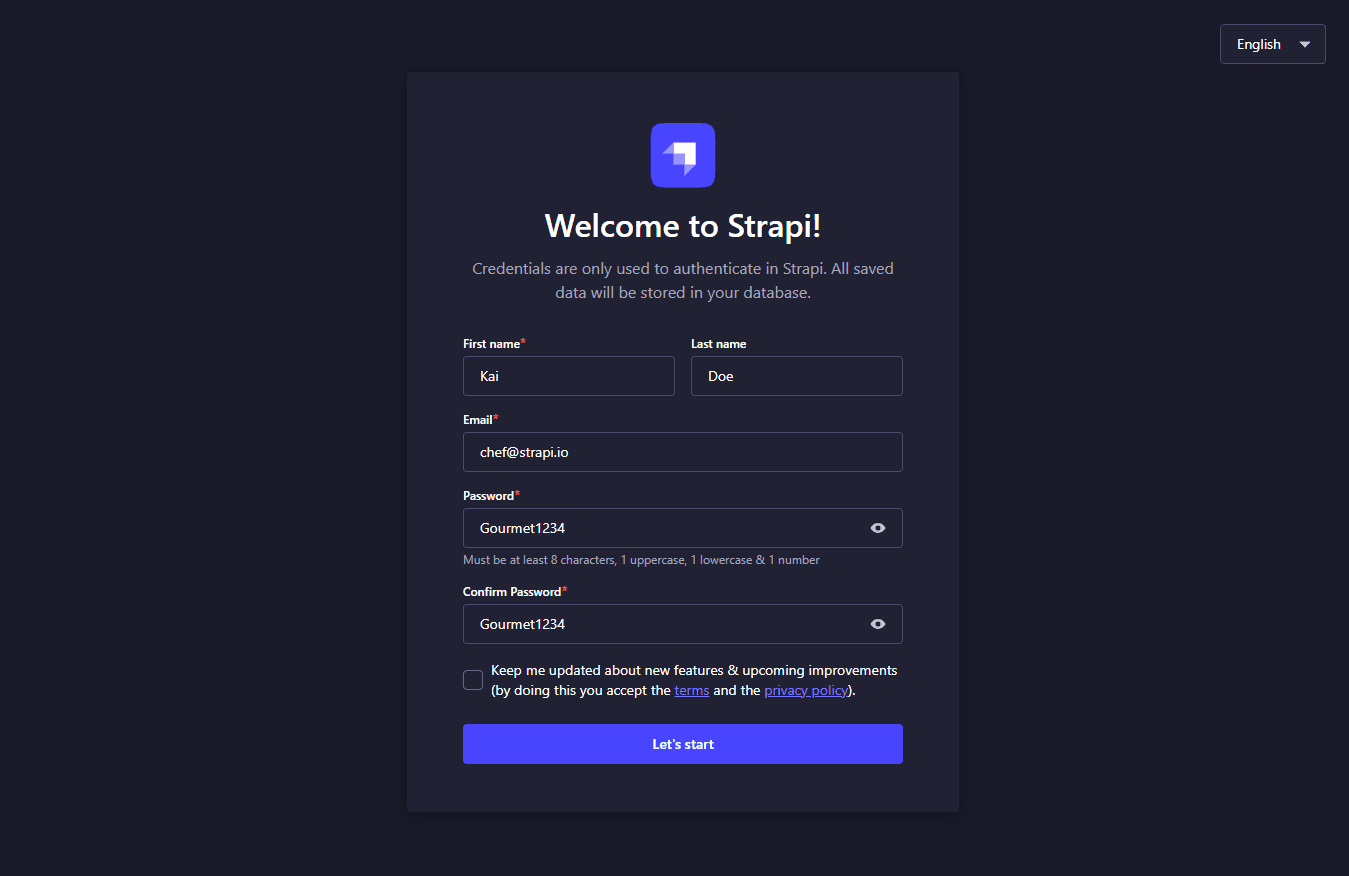
After creating the first administrator, you'll be logged into the Strapi administration panel:
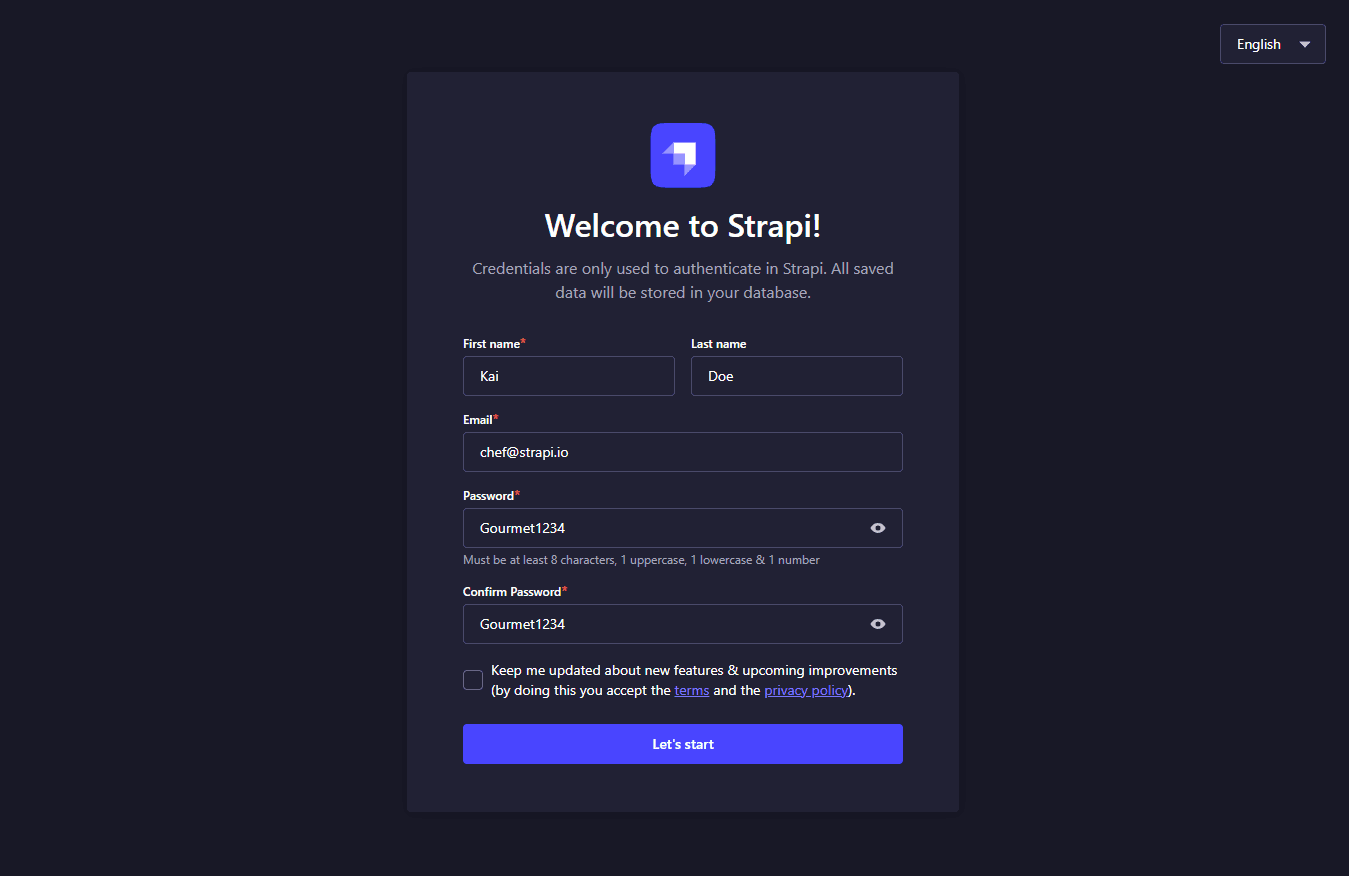
Creating and Integrating Google OAuth Client
This section covers creating and integrating a Google OAuth Client.
Begin by accessing the Google Developer Console.
Create OAuth client ID
To create an OAuth client ID, first configure your consent screen by clicking Configure Consent Screen.
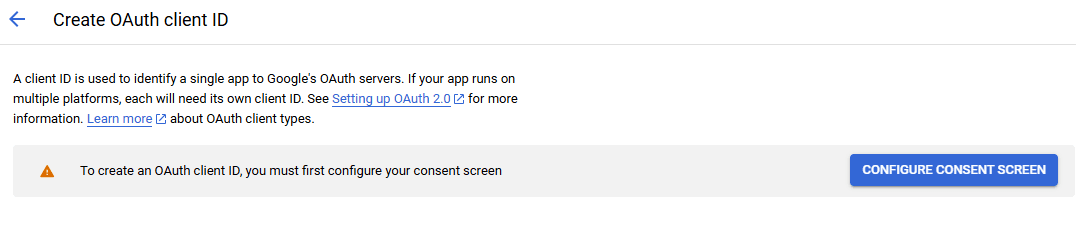
Audience
Click Get Started to configure your application's identity and manage Google API credentials.
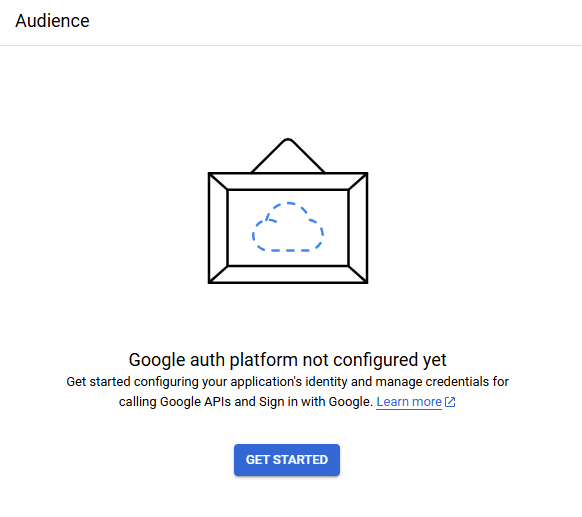
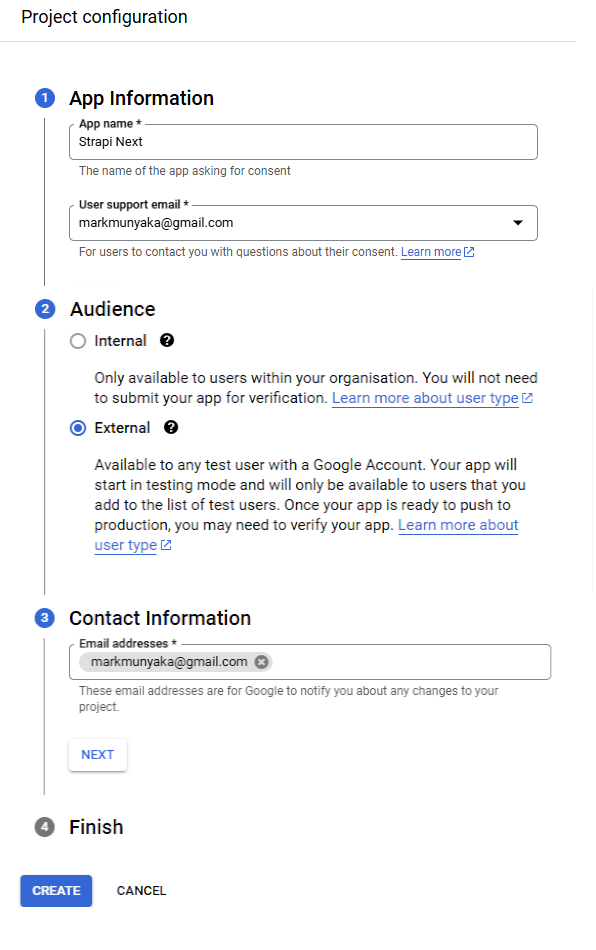
Project Configuration
Configure project settings: App Name, Support Email, Audience (External), and Contact Information.
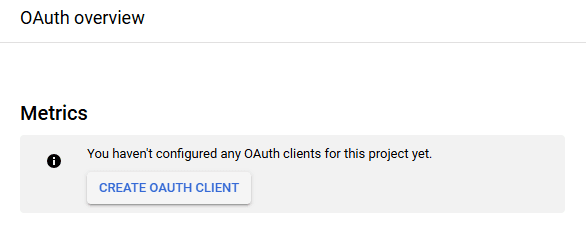
OAuth Overview
When prompted that no OAuth clients exist, click CREATE OAUTH CLIENT.
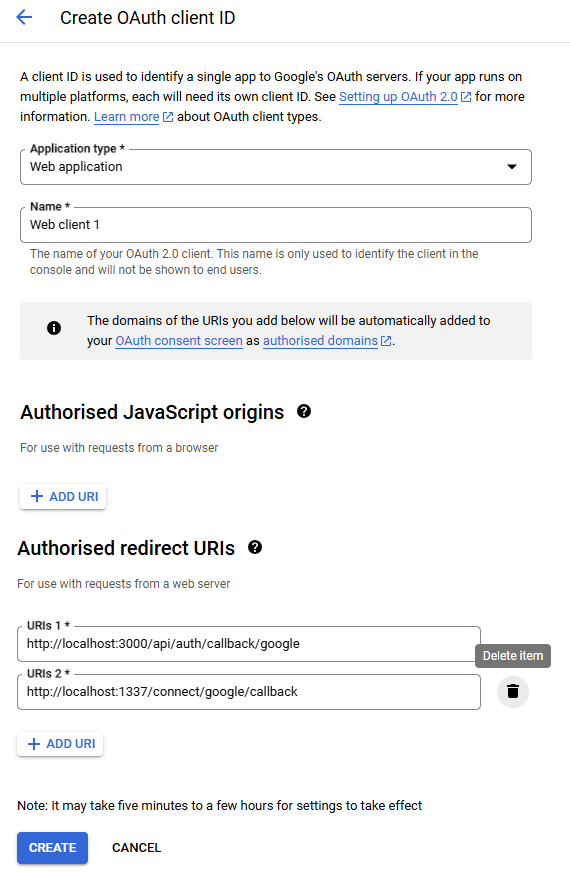
Create OAuth client ID
Configure the OAuth client ID:
- Choose
Web applicationas the application type. - Add the following Authorized redirect URIs:
http://localhost:3000/api/auth/callback/googlehttp://localhost:1337/api/connect/google/callback
After clicking CREATE, obtain the OAuth Client credentials.
View and download OAuth credentials on the OAuth 2.0 Client IDs page.
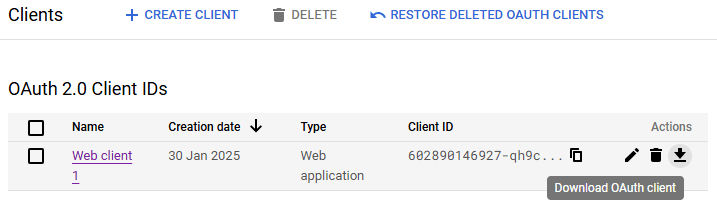
Download OAuth Client reveals the Client ID and Client Secret.
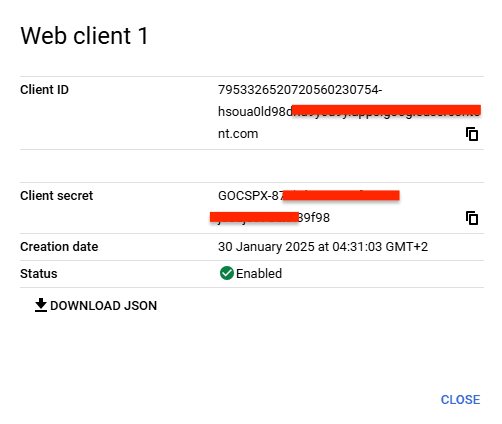
Download the JSON file.
{
    "web": {
        "client_id": "YOUR_CLIENT_ID",
        "project_id": "strapi-nextjs-auth",
        "auth_uri": "https://accounts.google.com/o/oauth2/auth",
        "token_uri": "https://oauth2.googleapis.com/token",
        "auth_provider_x509_cert_url": "https://www.googleapis.com/oauth2/v1/certs",
        "client_secret": "YOUR_CLIENT_SECRET",
        "redirect_uris": [
            "http://localhost:3000/api/auth/callback/google",
            "http://localhost:1337/api/connect/google/callback"
        ]
    }
}
Create Environment Variable File
Copy the client_id and the client_secret
Create a .env file in the frontend directory to store credentials:
NEXT_PUBLIC_API_URL=http://localhost:1337/api
NEXTAUTH_SECRET=supersecret
NEXTAUTH_URL=http://localhost:3000
GOOGLE_CLIENT_ID="4692723930384-jkdy095fj948953ld98450f754d.apps.googleusercontent.com"
GOOGLE_CLIENT_SECRET="G0CV556-4y9ic9ya8jdi9"
Replace the GOOGLE_CLIENT_ID and GOOGLE_CLIENT_SECRET with credentials from your new Google OAuth Client.
Add Credentials To Strapi
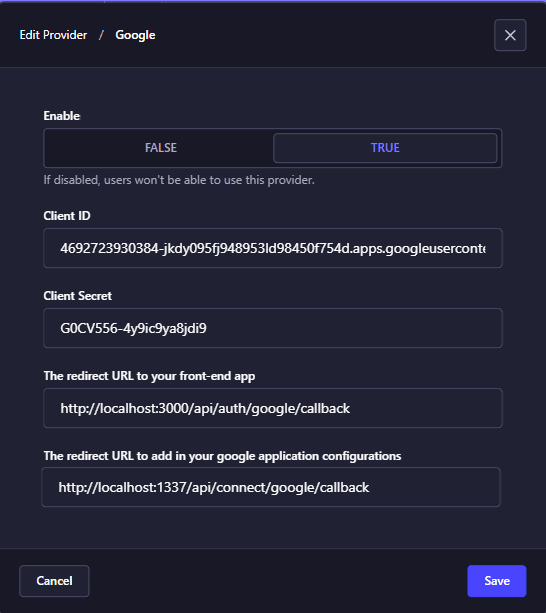
Next, add these credentials to the Strapi application. In the Strapi administration panel, add the Google OAuth Client credentials and enable the Google provider within the Providers menu in the Settings tab.
Enter the Client ID and Client Secret in the Google provider and enable it:
Installing and Integrating NextAuth with Next.js and Strapi
In this section, we'll install and integrate NextAuth. NextAuth is an open-source authentication solution for Next.js applications.
Run the following command in the frontend directory to install NextAuth:
yarn add next-authCreate a new file, [...nextauth].js, in the frontend/pages/api/auth directory with the following content:
// frontend/pages/api/auth/[...nextauth].js
import NextAuth from "next-auth"
import GoogleProvider from "next-auth/providers/google"

export const authOptions = {
  providers: [
    GoogleProvider({
      clientId: process.env.GOOGLE_CLIENT_ID,
      clientSecret: process.env.GOOGLE_CLIENT_SECRET,
    }),
  ],
  secret: process.env.NEXTAUTH_SECRET,
  session: {
    strategy: "jwt",
  },
  callbacks: {
    async session({ session, token, user }) {
      if (token) {
        session.jwt = token.jwt;
        session.id = token.id;
      }
      return session;
    },
    async jwt({ token, user, account }) {
      if (account && user) {
        try {
          const response = await fetch(
            `${process.env.NEXT_PUBLIC_API_URL}/auth/${account.provider}/callback?access_token=${account.access_token}`
          );
          const data = await response.json();
          token.jwt = data.jwt;
          token.id = data.user.id;
        } catch (error) {
          console.error("Error in JWT callback:", error);
        }
      }
      return token;
    }
  }
}

export default NextAuth(authOptions)
In the NextAuth callback, call the Strapi Authentication API endpoint. Store the JWT (token.jwt) and user ID (data.user.id) from the Strapi API response.
This identifies the currently authenticated user.
Retrieve authenticated user details using NextAuth's getSession function. No returned details indicate the user is not authenticated.
Verify NextAuth functionality by updating frontend/pages/index.js:
 // frontend/pages/index.js
import { getSession, signIn, signOut } from "next-auth/react";
import Head from 'next/head';
import Link from "next/link";
import React from "react";

const IndexPage = ({
  session,
}) => {
  const signInButtonNode = () => {
    if (session) {
      return false;
    }

    return (
      <div className="w-full flex justify-end p-4">
        <Link href="/api/auth/signin" className="w-full max-w-xs">
          <button
            className="w-full bg-blue-500 hover:bg-blue-600 text-white font-bold py-2 px-4 rounded transition-colors duration-300"
            onClick={(e) => {
              e.preventDefault();
              signIn();
            }}
          >
            Sign In
          </button>
        </Link>
      </div>
    );
  };

  const signOutButtonNode = () => {
    if (!session) {
      return false;
    }

    return (
      <div className="w-full flex justify-end p-4">
        <Link href="/api/auth/signout" className="w-full max-w-xs">
          <button
            className="w-full bg-red-500 hover:bg-red-600 text-white font-bold py-2 px-4 rounded transition-colors duration-300"
            onClick={(e) => {
              e.preventDefault();
              signOut();
            }}
          >
            Sign Out
          </button>
        </Link>
      </div>
    );
  };

  if (!session) {
    return (
      <div className="min-h-screen bg-gray-100 flex flex-col items-center justify-center">
        <div className="w-full max-w-md bg-white shadow-md rounded-lg p-6">
          <div className="navbar mb-4">
            {signOutButtonNode()}
            {signInButtonNode()}
          </div>
          <div className="text text-center text-red-500 font-semibold">
            You aren't authorized to view this page
          </div>
        </div>
      </div>
    )
  }

  return (
    <div className="min-h-screen bg-gray-100 flex flex-col items-center justify-center">
      <Head>
        <title>Index Page</title>
      </Head>
      <div className="w-full max-w-md bg-white shadow-md rounded-lg p-6">
        <div className="navbar mb-4">
          {signOutButtonNode()}
          {signInButtonNode()}
        </div>
        <div className="text text-center text-green-500 font-semibold">
          Hello world
        </div>
      </div>
    </div>
  );
};

export const getServerSideProps = async ({ req }) => {
  const session = await getSession({ req });
  return {
    props: {
      session,
    },
  };
};

export default IndexPage;
Upon visiting localhost:3000, you'll see the sign-in page.
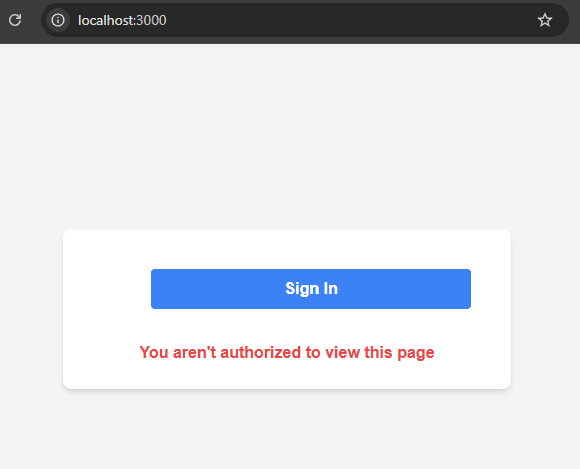
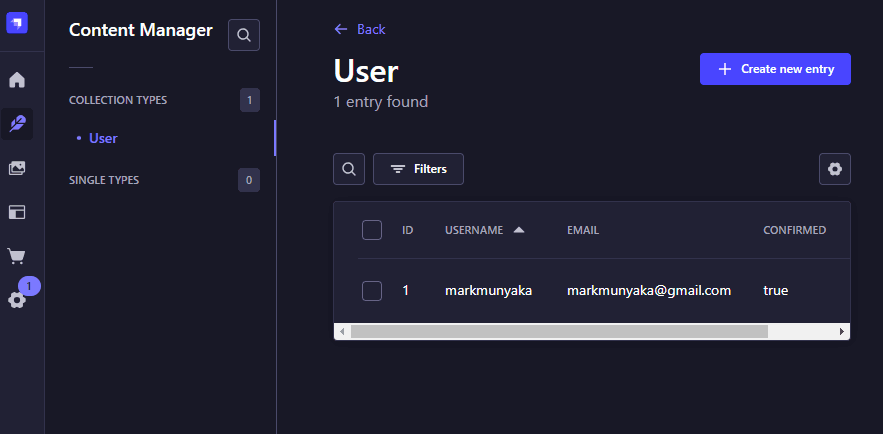
Click Sign In and log in with your Google account. After authentication, you'll see the protected page.
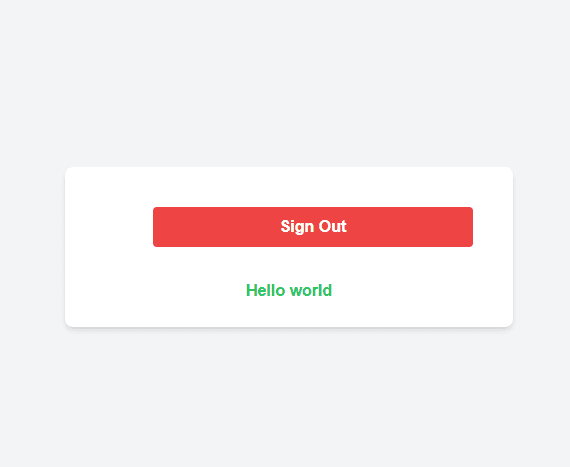
Authenticated user details are available in the page's session prop.
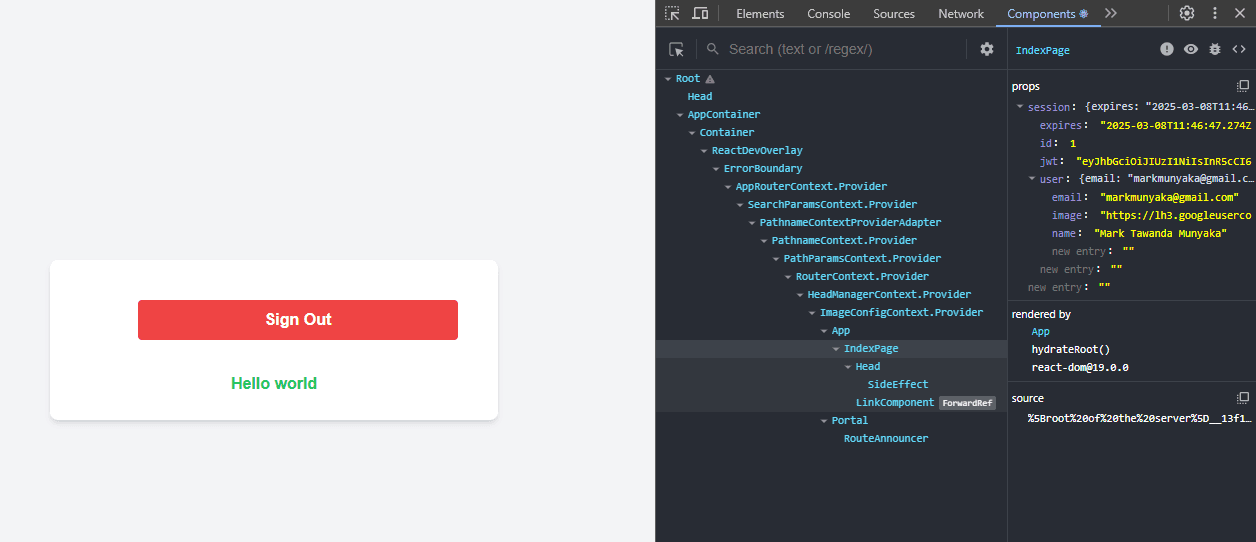
Fetch user details from the session prop. The authenticated user will appear in the Strapi administration panel.
Github Code
The complete code for this tutorial is available on GitHub.
Conclusion
This tutorial demonstrated Next.js authentication using Strapi 5 and NextAuth via the REST API. A similar approach can be applied to GraphQL.
Start with Strapi using the Strapi docs or live demo.