In this tutorial, you will learn how to render content using Strapi's Rich Text Block Editor in a Next.js project.
Instead of building your project from scratch, I already have a repo with the example.
To save time, you will walk you through the example project and explain all the important details so you can get started with the new block renderer in your project.
Setting Up The Example Repo
You can find the example project here.
Start by cloning the repo with the following command.
Clone Github Repo and Setup Project
Ensure you have Github CLI installed.
gh repo clone PaulBratslavsky/strapi-block-renderer-testOnce you have the project cloned, run the following commands to set up all the project dependencies.
cd strapi-block-renderer-test
yarn setup
🖐️ NOTE: You might need to run
yarn installfor the above command to work.
Create Environment Variables File
Once all the dependencies are installed, you need to add a .env file inside your Strapi project. Navigate to the backend folder, create a new .env file, and add the following:
HOST=0.0.0.0
PORT=1337
APP_KEYS=wXYvvOuO1EkHdx649y6VSw==,ybhl4JrYJCywPzD9/VCCHA==,ny2t0th9YSjS4CboaL5gaw==,4QqGB4RyQfuE/2QraXLUaw==
API_TOKEN_SALT=ZZr3P8+Wb32+onN+nqki2A==
ADMIN_JWT_SECRET=FuI/5Q6dpK3WIrmQjgy9RA==
TRANSFER_TOKEN_SALT=sCUHUXnyxPfDyDtpNBy9Yw==
JWT_SECRET=BcnO4bwwIbp3XwyVnDONpQ==
Seed Dummy Data for your Project
Once that is done. You will have to seed your dummy data so you have something to work with.
Change directory to the root of your project and run the following command.
yarn seedyarn seed
yarn run v1.22.19**
$ cd backend && yarn strapi import -f ../seed-data.tar.gz
$ strapi import -f ../seed-data.tar.gz
? The import will delete your existing data! Are you sure you want to proceed?(y/N)You will see the following message; just go ahead and click yes.
Start Project Frontend and Backend
Once everything is done, you can start both frontend and backend projects by running the following command.
yarn devYour Strapi project will start on http://localhost:1337/admin go ahead and create your first admin user.
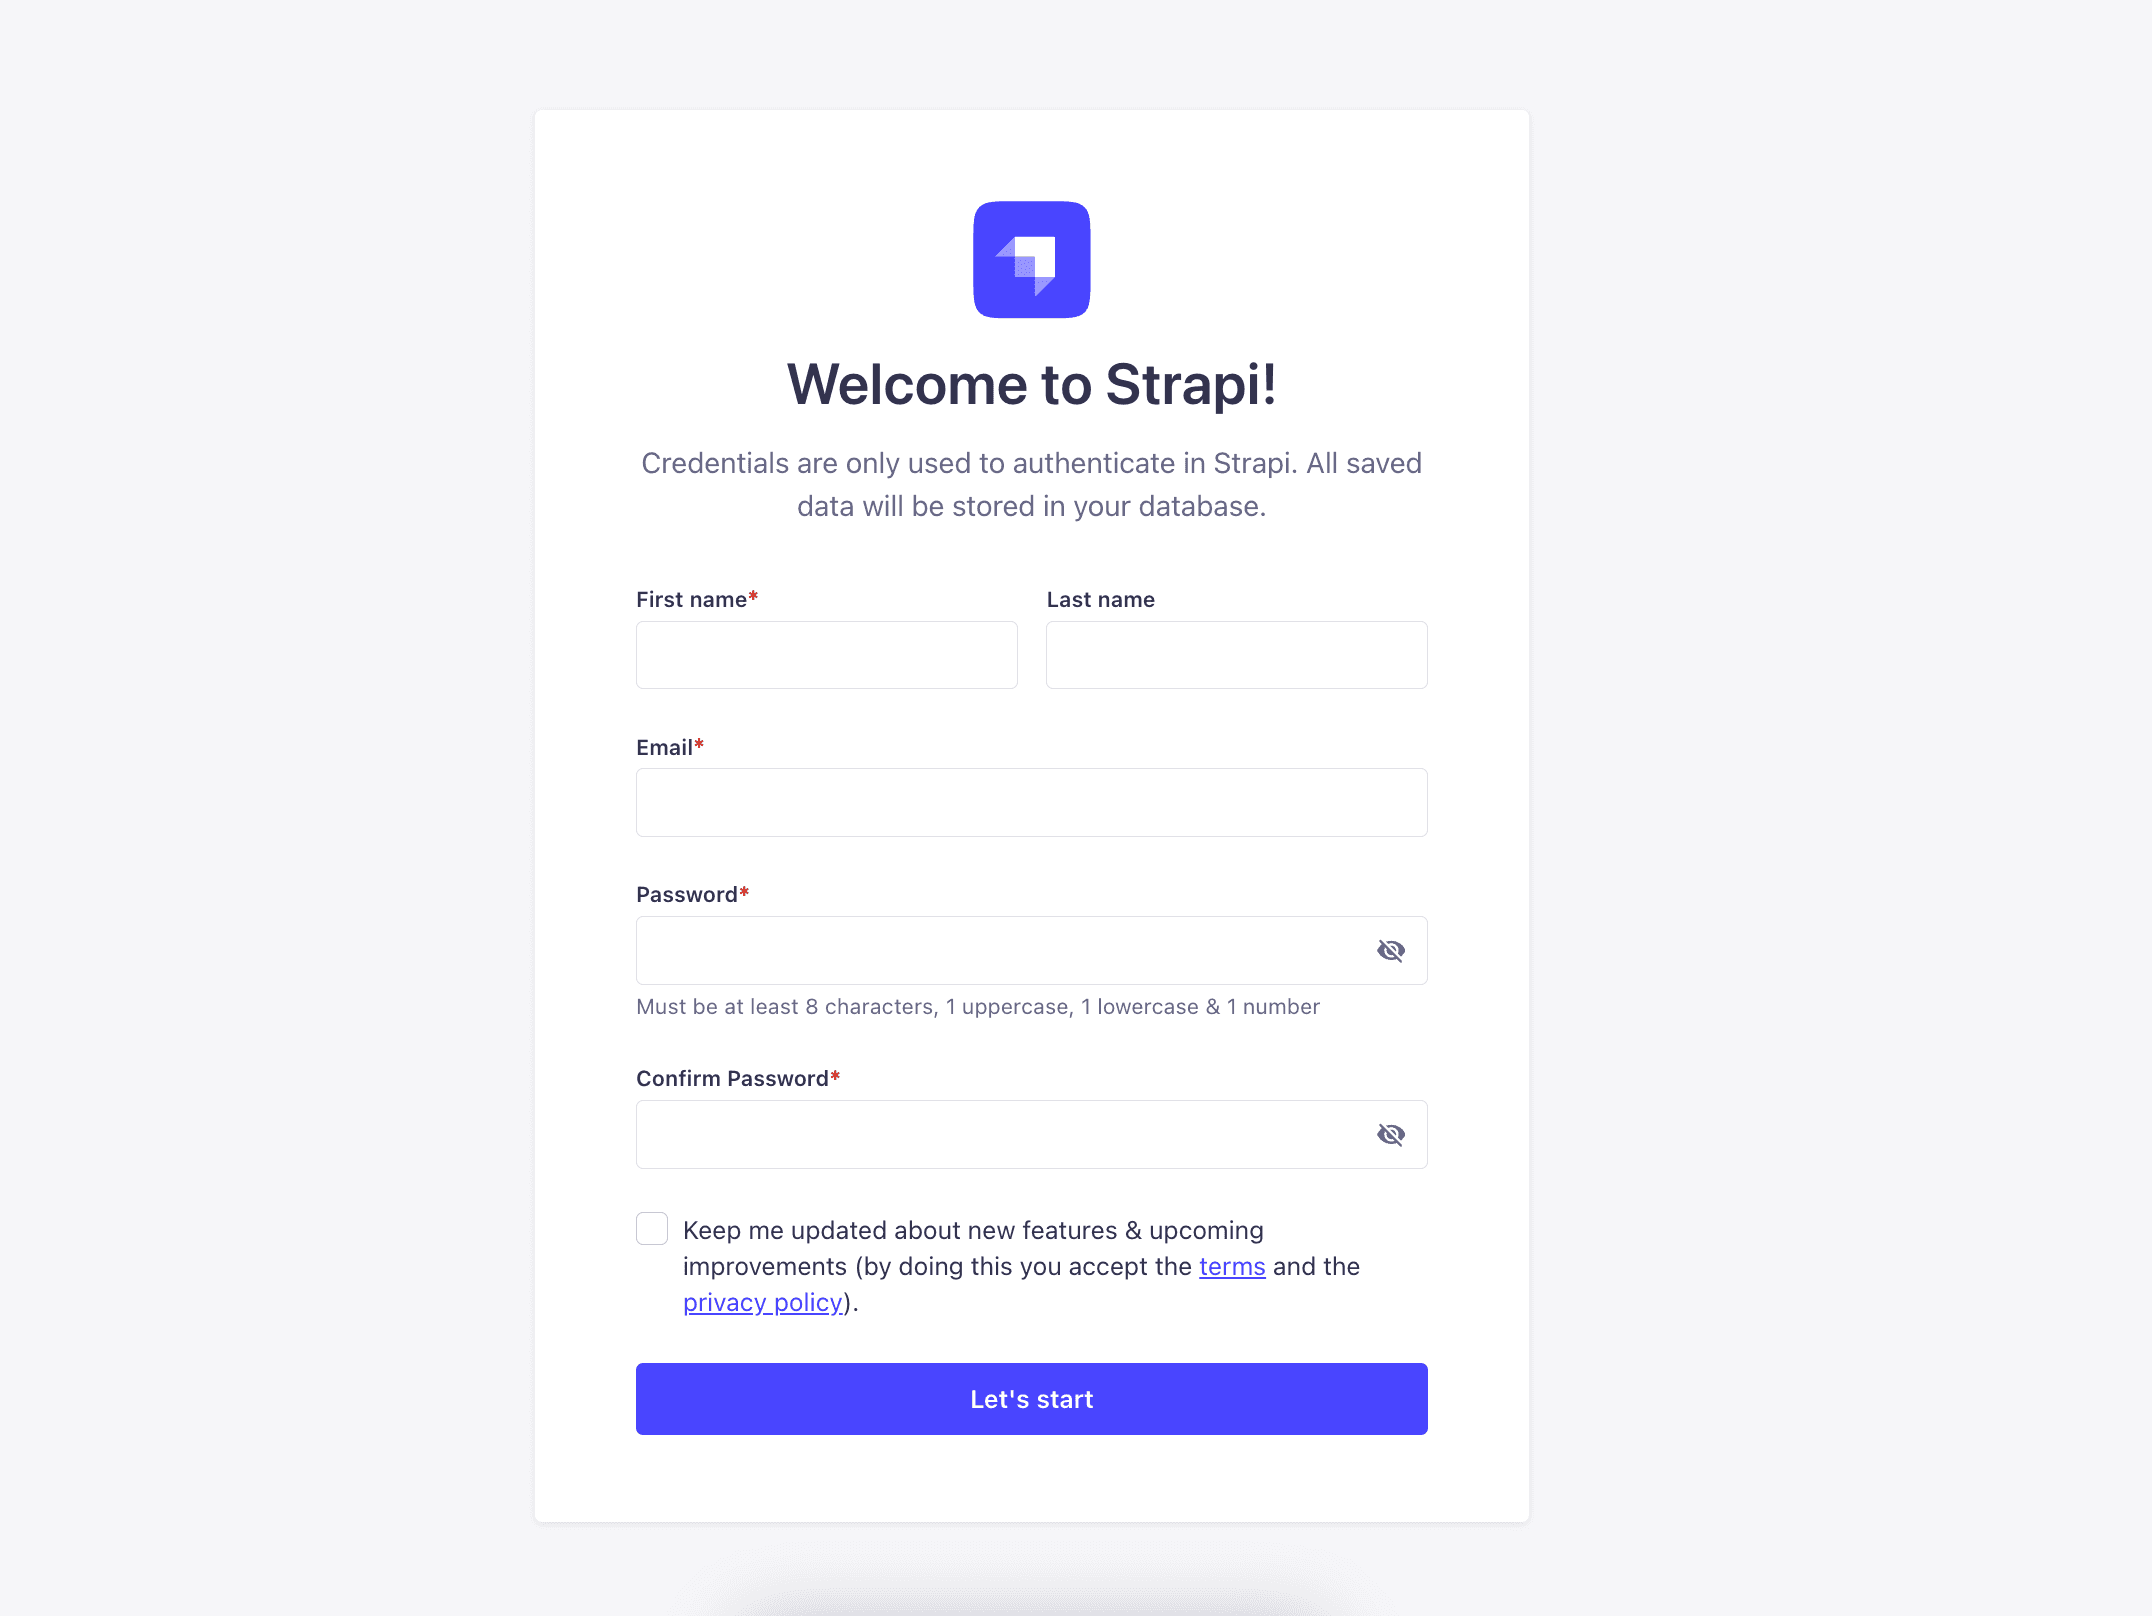
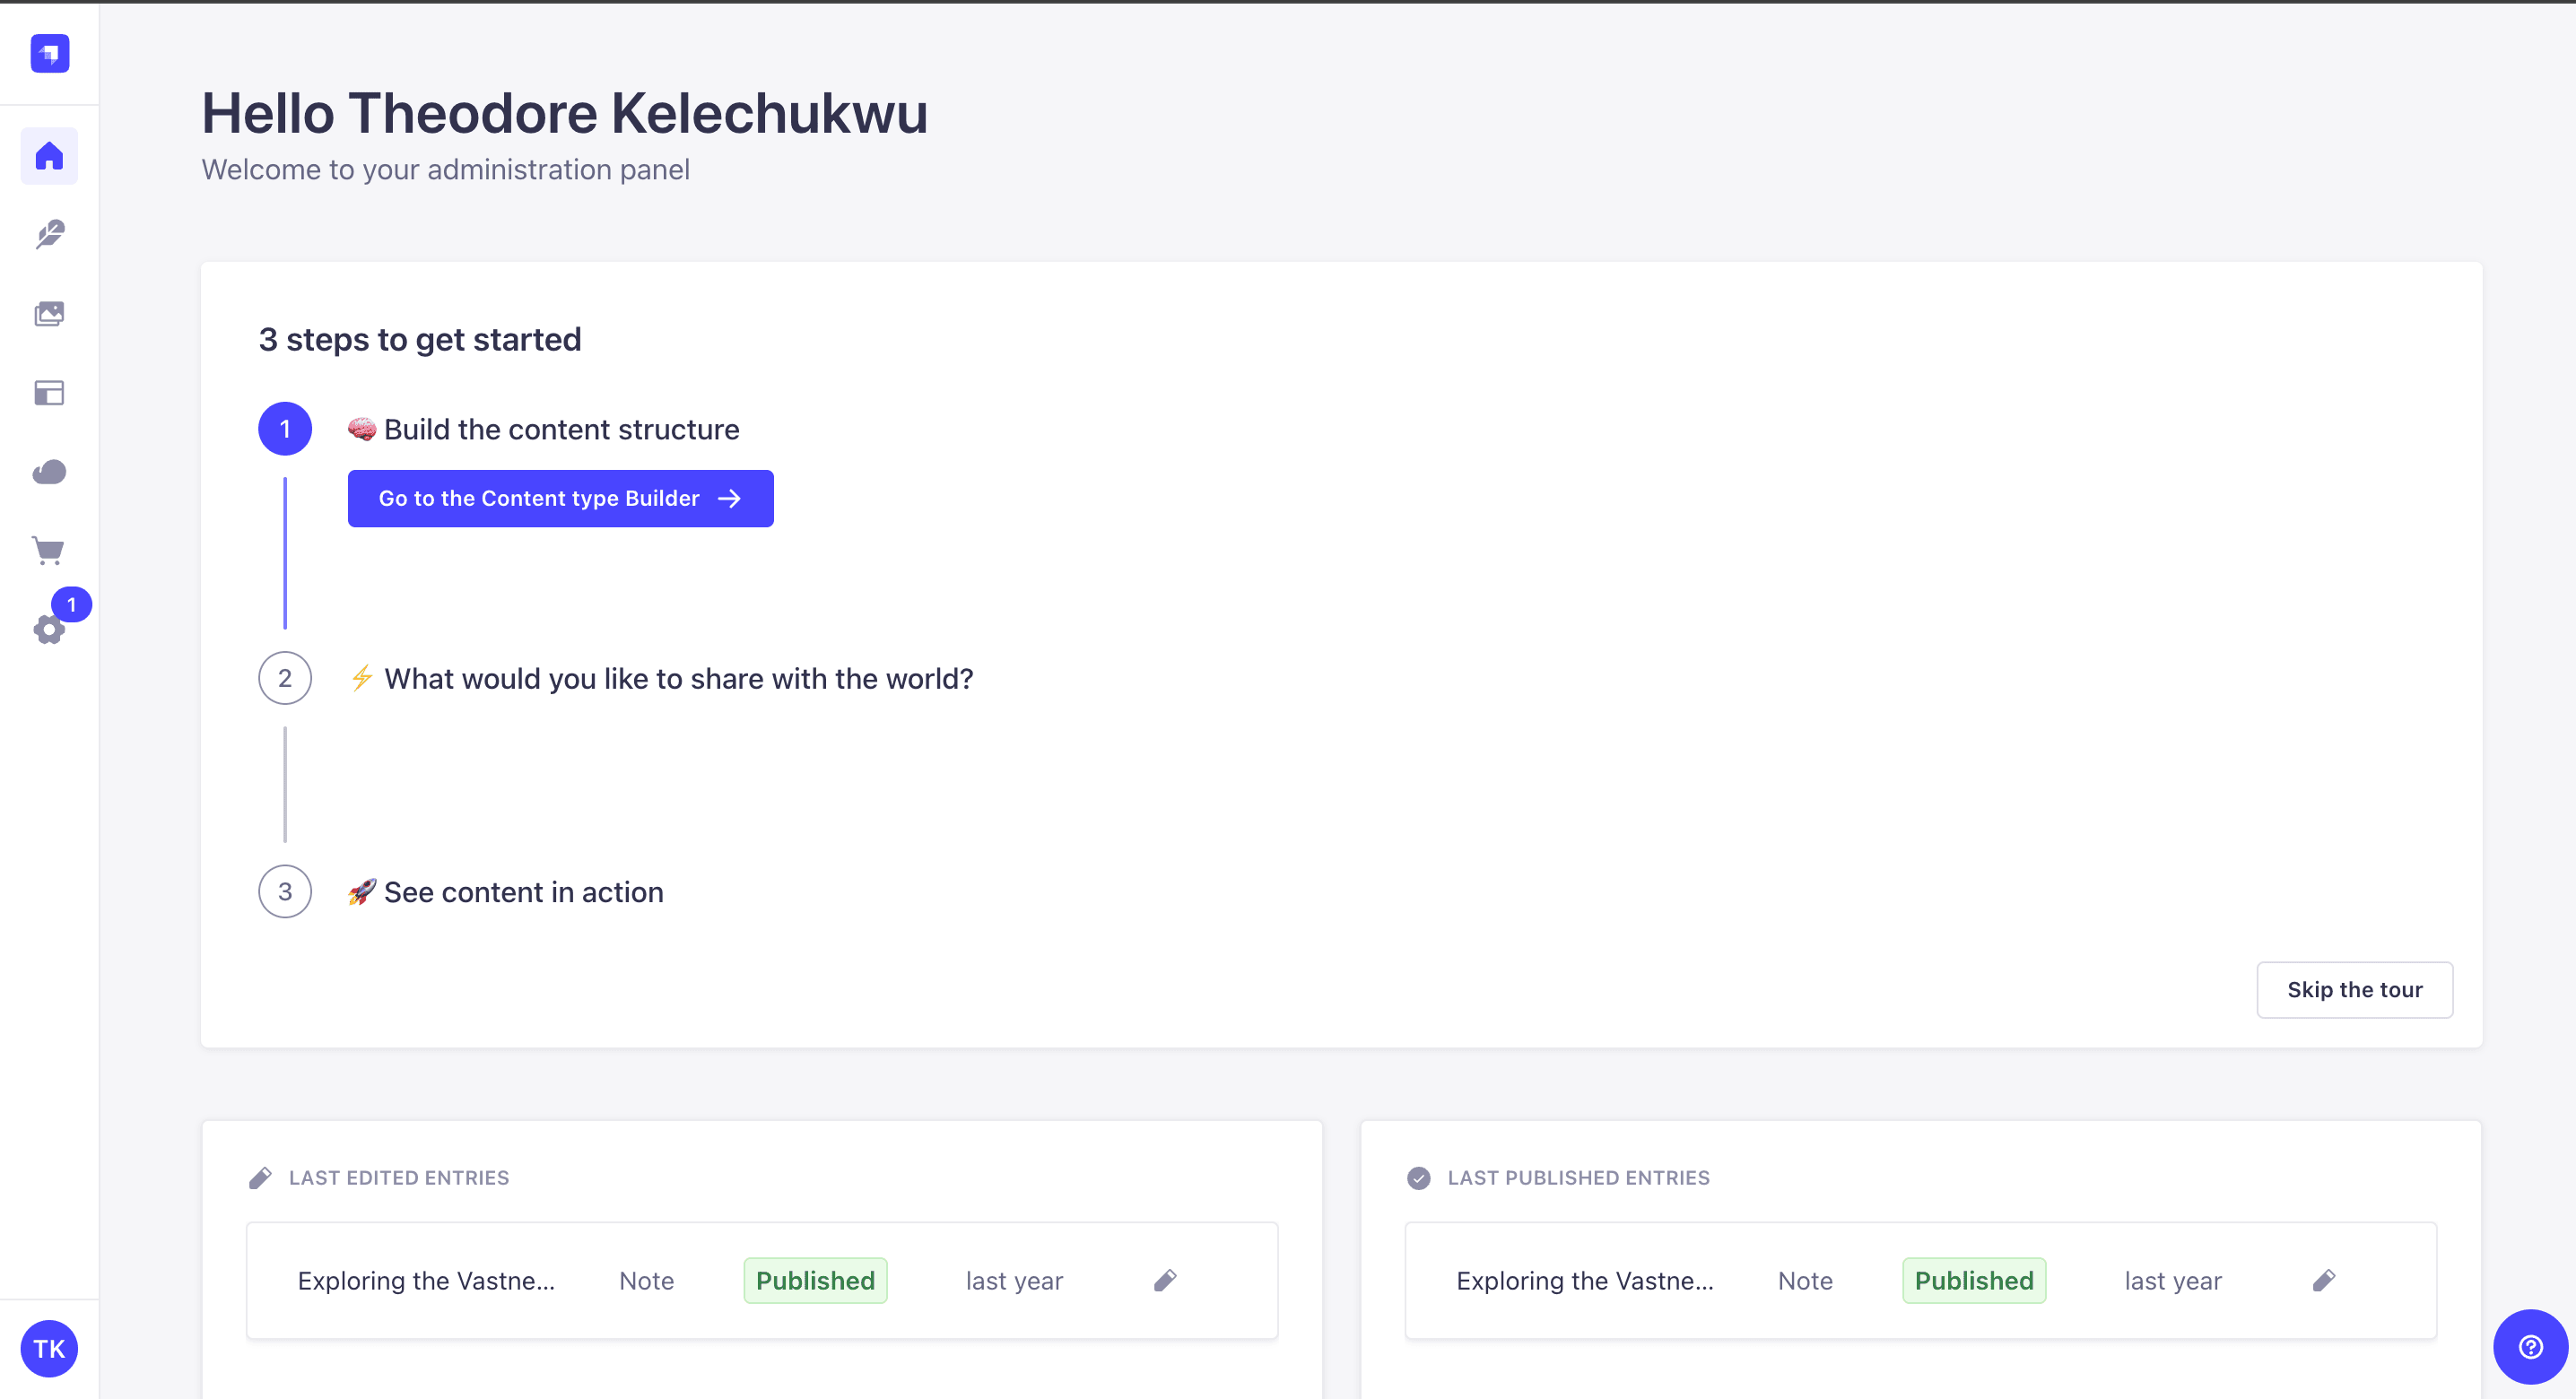
Once done, you will be greeted with the dashboard.
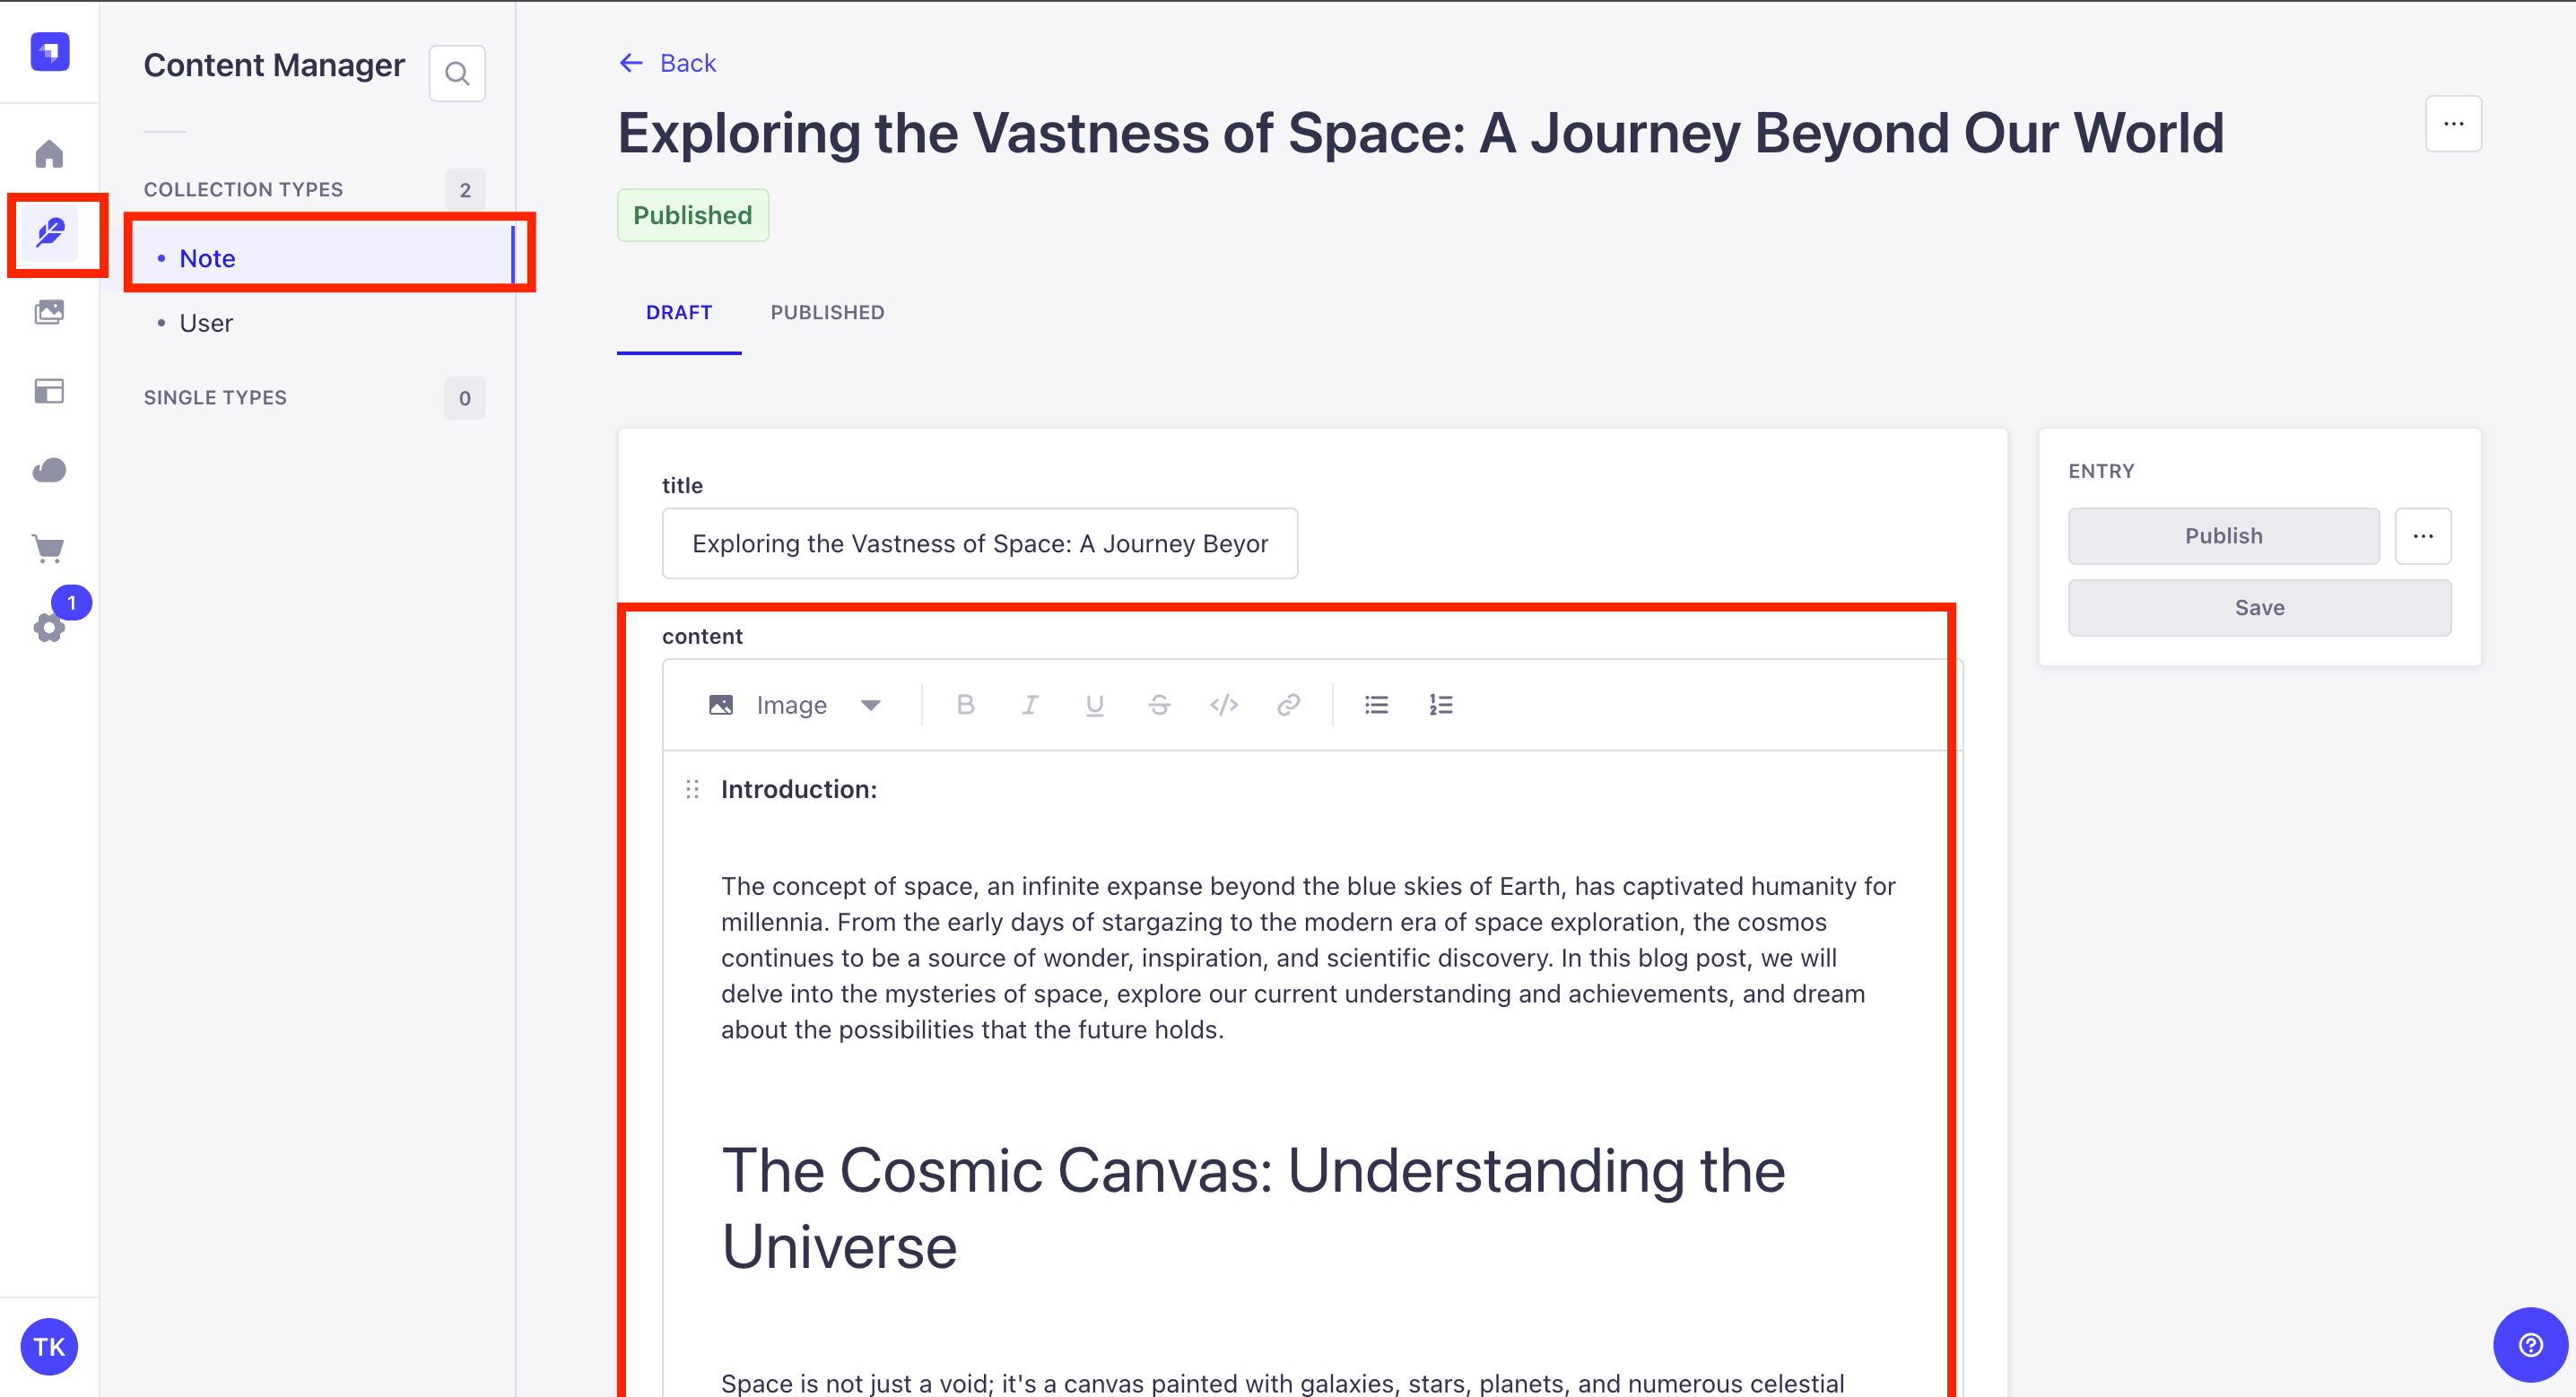
If you navigate to Content Manager -> Note, you will see us using the new Strapi's Rich Text Editor.
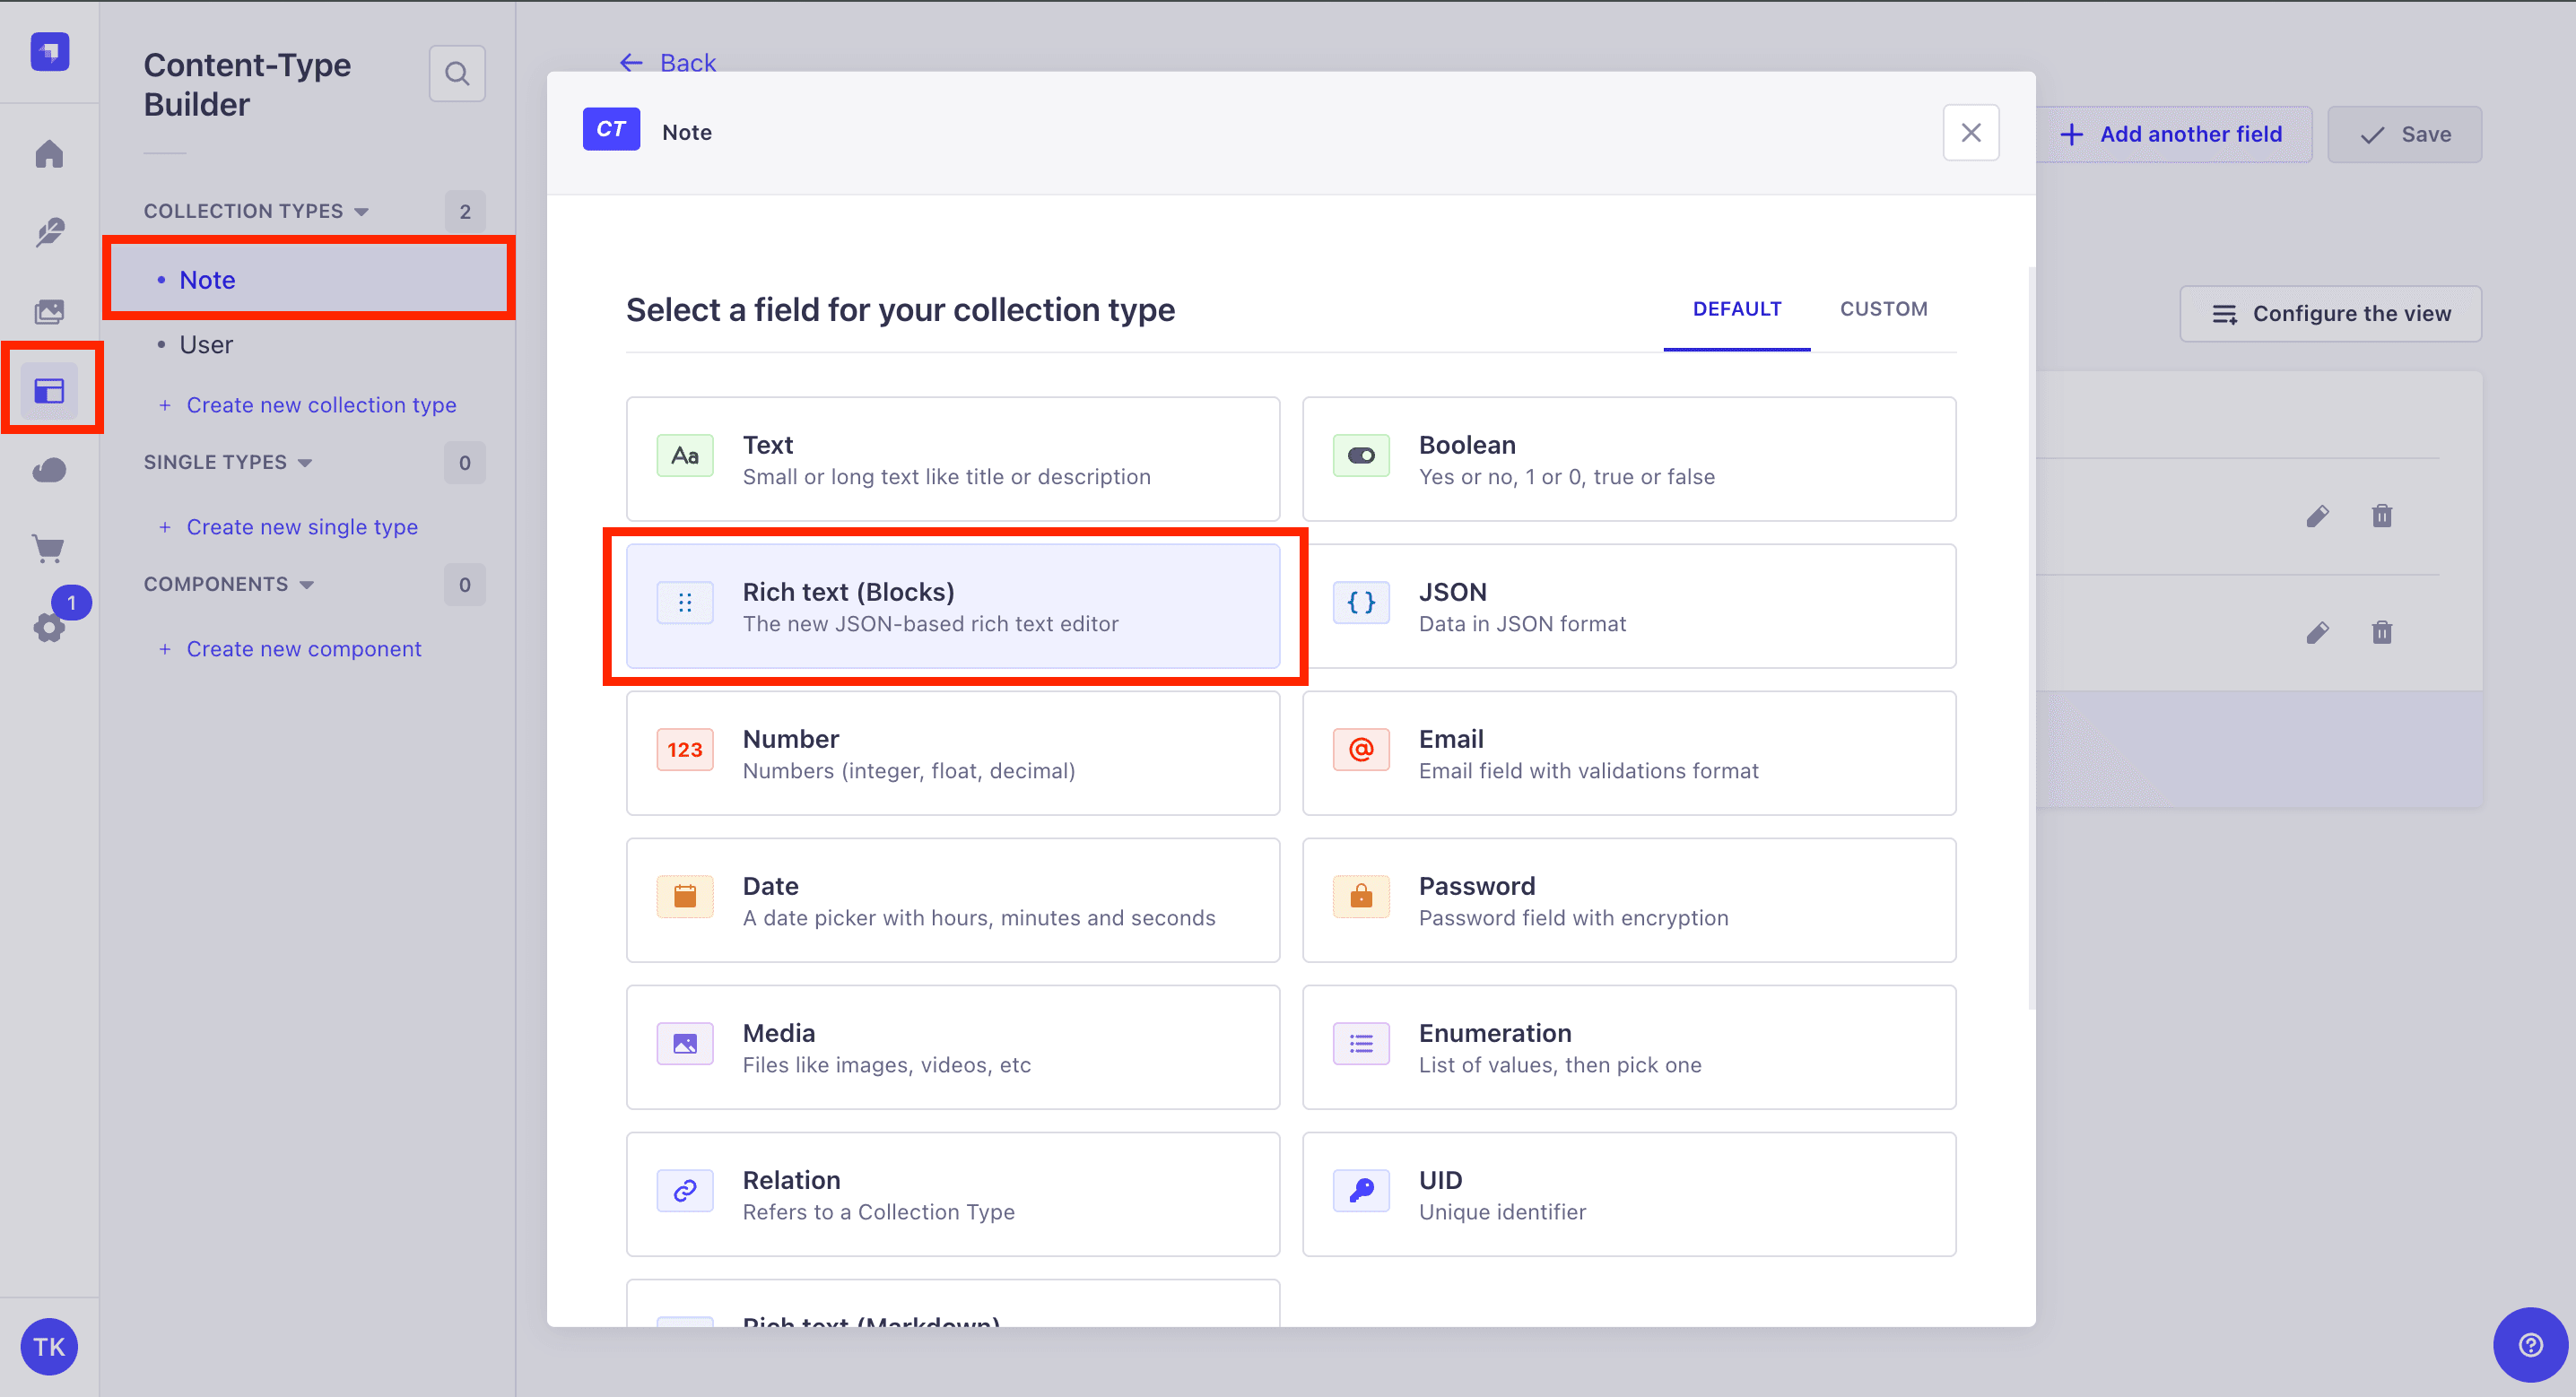
You can find it as one of the options when building your collection type.
And finally open tour frontend project in your browser by going to http://localhost:3000 and you will seeyour article being displayed.
Now that your project is working. Review the implementation details in the code.
Take a Look At The Code
Go ahead and open your project in Vs Code if you haven't already done so. And take a look at the following file found in frontend/src/app/page.tsx
page.tsx
import { type BlocksContent } from "@strapi/blocks-react-renderer";
import BlockRendererClient from "./BlockRendererClient";

async function getStrapiData() {
  const res = await fetch("http://localhost:1337/api/notes");
  const data = await res.json();
  return data;
}

export default async function Home() {
  const { data } = await getStrapiData();

  const content: BlocksContent = data[0].content;

  return (
    <main className="max-w-[980px] mx-auto my-36">
      <h1>{data[0].title}</h1>
      <BlockRendererClient content={content} />
    </main>
  );
}
In the code above. In Next.js. This defaults to RSC (React Server Component), which is why you are able to fetch the data directly via the getStrapiData() function, which is pretty cool.
async function getStrapiData() {
  const res = await fetch("http://localhost:1337/api/notes");
  const data = await res.json();
  return data;
}
You can call it from your component.
export default async function Home() {
  const { data } = await getStrapiData();

  // the rest of the code
  ...
}
Once you get the data, you save it to a content variable and pass it to your BlockRendererClient component.
export default async function Home() {
  const { data } = await getStrapiData();
  const content: BlocksContent = data[0].content;

  // the rest of the code
  ...
}
Before you take a look at the BlockRendererClient component, here is a brief note on Next.js 14, which can be learned here
In short, Strapi's BlocksRenderer component relies on client-side javascript.
That is why you must wrap it inside your BlockRendererClient and use the "use client" directive at the top of the page.
Take a Look At Strapi's BlocksRenderer
You can find the implementation of your BlockRenderer inside the /frontend/src/app/BlockRendererClient.tsx file.
BlockRendererClient.tsx
"use client";
import Image from "next/image";

import {
  BlocksRenderer,
  type BlocksContent,
} from "@strapi/blocks-react-renderer";

export default function BlockRendererClient({
  content,
}: {
  readonly content: BlocksContent;
}) {
  if (!content) return null;
  return (
    <BlocksRenderer
      content={content}
      blocks={{
        image: ({ image }) => {
          console.log(image);
          return (
            <Image
              src={image.url}
              width={image.width}
              height={image.height}
              alt={image.alternativeText || ""}
            />
          );
        },
      }}
    />
  );
}
You can read more about the BlockRenderer here to get all the details, steps, and outlines on how to install and set it up in your project.
But you will learn the basics here.
You already have it installed, but if you were to install it in your own project, you would do it with the following command.
yarn add @strapi/blocks-react-rendererFor straight-forward implementation, all you would need to do is just import your component and use it by passing in the block data that you are getting from your API call.
"use client";
import {
  BlocksRenderer,
  type BlocksContent,
} from "@strapi/blocks-react-renderer";

export default function BlockRendererClient({
  content,
}: {
  readonly content: BlocksContent;
}) {
  if (!content) return null;
  return <BlocksRenderer content={content} />;
}
But you can overwrite the default blocks.
In the example below, you will take a look at how you can replace the default with using Next.js Image component.
You can learn more about all the other options here.
But here are all the options available to you for blocks props:
- Blocks are full-width elements, usually at the root of the content. The available options are:
- paragraph
- heading (receives
level) - list (receives
format) - quote
- code (receives
plainText) - image (receives
image) - link (receives
url)
You are going to modify your code with the following.
<BlocksRenderer
  content={content}
  blocks={{
    image: ({ image }) => {
      console.log(image);
      return (
        <Image
          src={image.url}
          width={image.width}
          height={image.height}
          alt={image.alternativeText || ""}
        />
      );
    },
  }}
/>
Inside the BlockRenderer, you are passing an object where you are overwriting the image block with your custom Next.js Image component.
Conclusion
In this article, you went over an example project that covers how to use the new Strapi's Rich Text Editor component.
You can also check out the following video here that walks through all the steps.
Thank you for checking out this article, and see you in the next one.
Strapi Open Office Hours
If you have any questions about Strapi 5 or just would like to stop by and say hi, you can join us at Strapi's Discord Open Office Hours Monday through Friday at 12:30 pm - 1:30 pm CST: Strapi Discord Open Office Hours